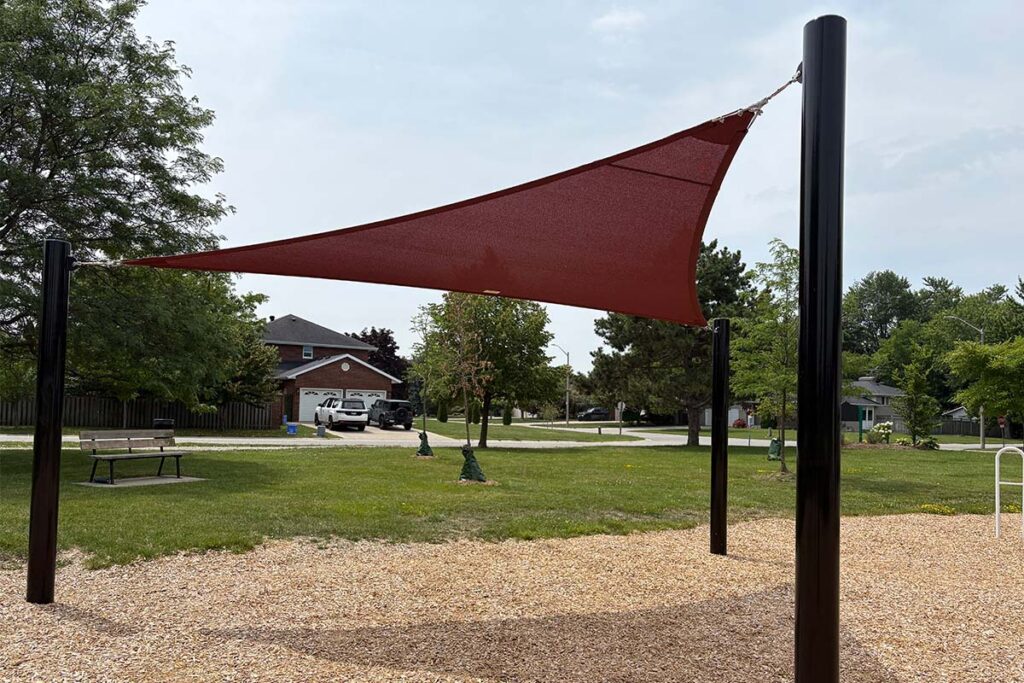
Don’t Wait Until the First Snowfall
Summer may be coming to an end, but there’s still one important job to take care of before the temperatures drop: preparing your shade sail for winter.
Shade sails work hard all summer long, providing comfortable protection from the sun while being exposed to UV rays, wind, rain, dirt, and everyday environmental debris. Taking a little time for end-of-season maintenance can help protect the fabric, hardware, and overall shade structure for years to come.
In Canada, fabric shade sails should be removed before winter. They are not designed to withstand the weight of snow or prolonged freezing conditions. Properly removing and storing your shade sail before winter weather arrives can help extend its lifespan and make spring reinstallation much easier.
Why End-of-Summer Shade Sail Maintenance Matters
The end of summer is the ideal time to give your shade system a thorough inspection. Proper seasonal care offers several key benefits for your outdoor investment:
- Thorough Inspection: It gives you the opportunity to inspect hardware, posts, tensioning points, and the fabric itself.
- Performance & Aesthetics: Regular upkeep helps preserve the clean appearance and structural performance of the entire system.
- Warranty Protection: Routine care and prompt attention to issues help keep your product warranty valid.
The Sun Shade Co. Seasonal Care Process
A few simple maintenance steps at the end of the season can go a long way toward protecting your investment.
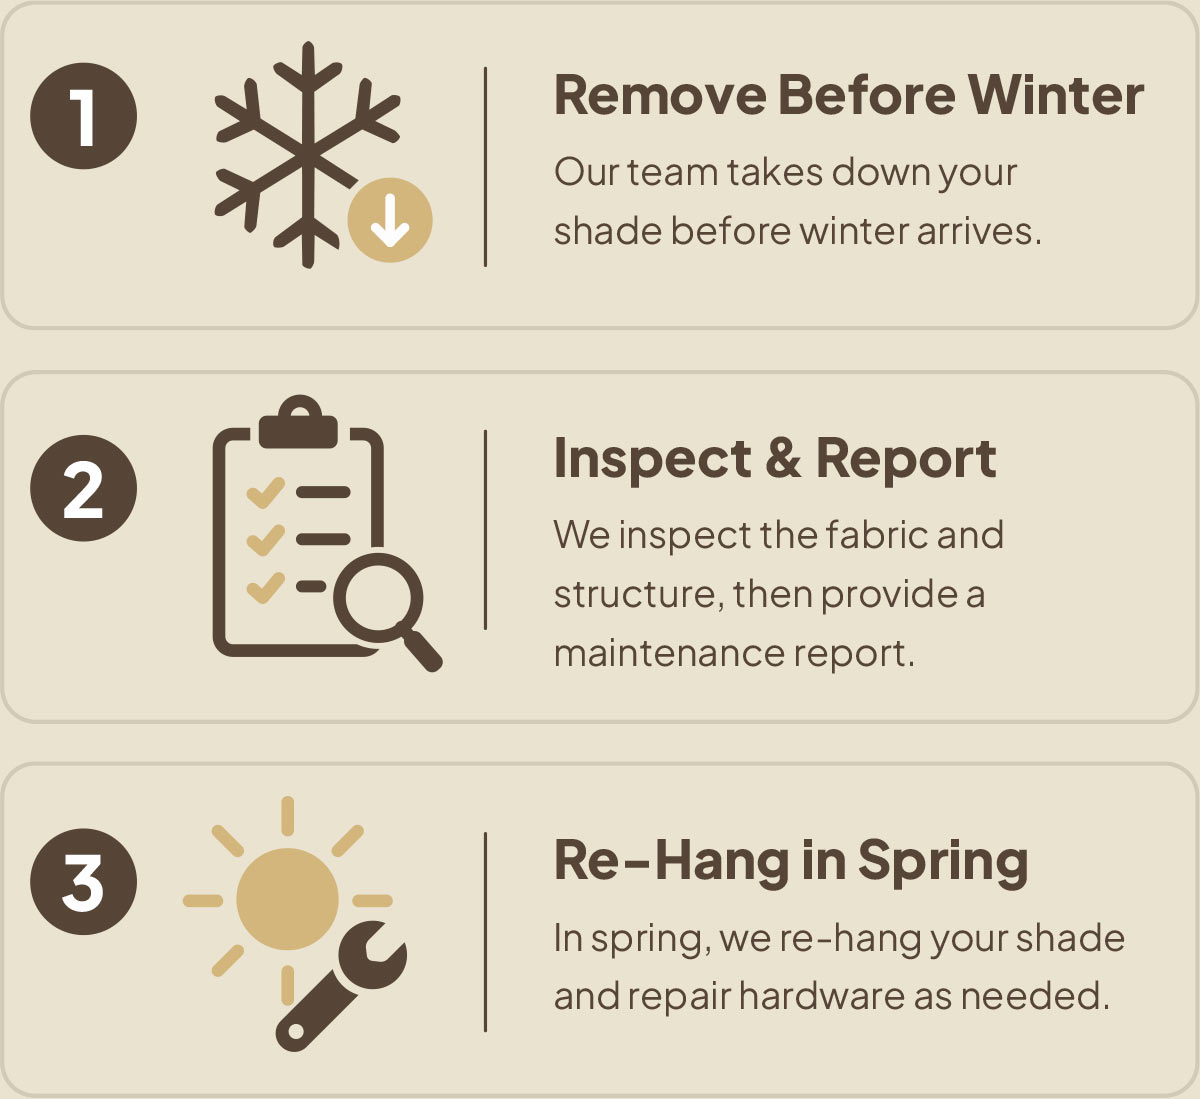
Tackling your own shade sail removal this season? Here is a handy guide to walk you through taking it down safely. Click here to download and print the checklist below.
End-of-Summer Shade Sail Maintenance Checklist
1. Inspect the Shade Fabric
Start by carefully examining the entire surface of your shade sail. Look for any signs of damage or wear that may have developed throughout the summer. Pay particular attention to:
- Small tears or worn areas
- Loose stitching
- Fraying around the edges
- Staining or mildew
- Leaves, twigs, and other debris
- Areas where dirt has accumulated
- Sagging or noticeable changes in tension
Catching these issues early gives you an opportunity to address them before they become more significant. If you notice any damage or have concerns about the condition of your shade sail, contact a Sun Shade Co. representative as soon as possible.
2. Remove Leaves, Twigs, and Debris
Throughout the summer, leaves, twigs, dirt, and other debris can collect on your shade sail. Debris should not be allowed to sit on the fabric for extended periods. Regularly clearing the surface helps keep the fabric looking its best and prevents buildup that can contribute to staining and other issues.
Sun Shade Co.’s care guidelines recommend regularly removing leaves, twigs, and other accumulated debris from the fabric surface.
3. Clean the Fabric Before Storage
Your shade sail should be clean and completely dry before it is put away for the winter. For general cleaning:
- Use mild soap and water
- Avoid harsh chemicals or abrasive cleaners that can degrade the UV-resistant fabric
- Use a soft-bristle brush or sponge to gently scrub away dirt
- Gently clean the fabric without using abrasive tools
- Rinse thoroughly with clean water
- Allow the shade sail to dry completely before folding or storing it
Most importantly, never store your shade sail while it is still damp. Trapped moisture can contribute to mildew, staining, and moisture-related deterioration during storage.
4. Inspect Hardware and Fasteners
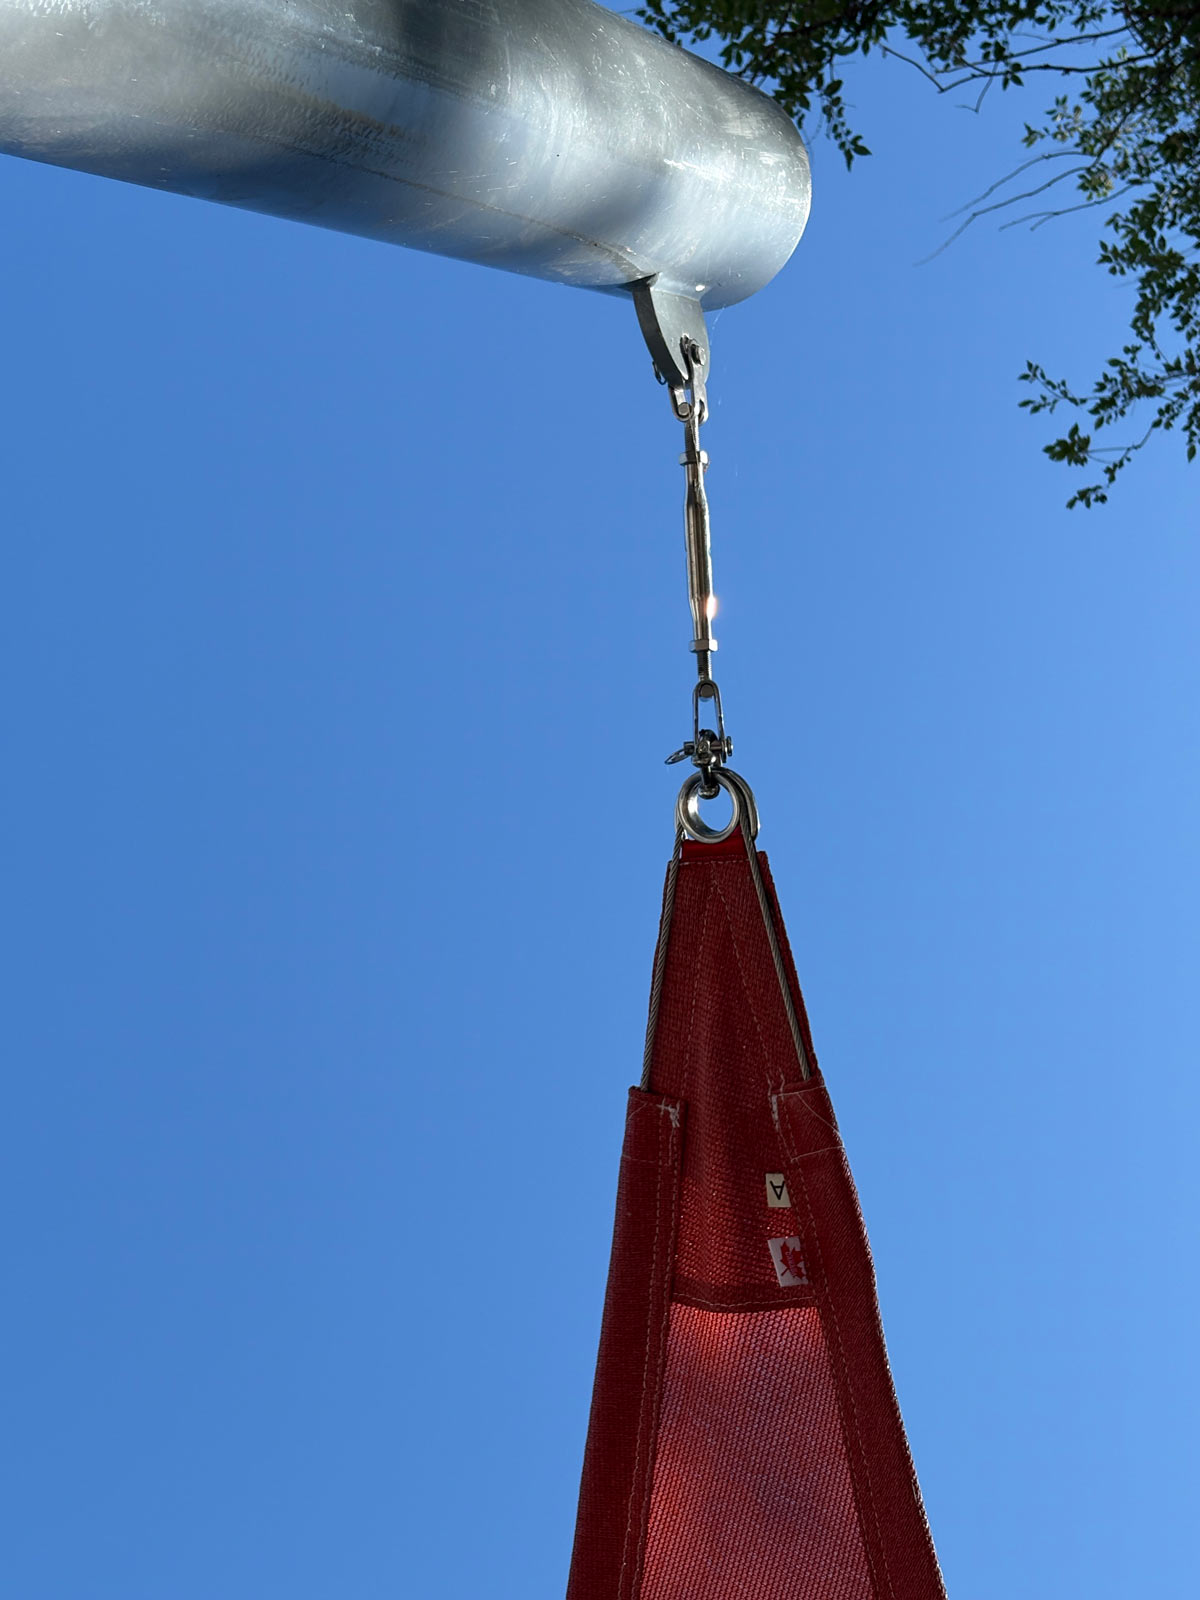
The fabric is only one part of your shade system. Before removing the sail, inspect the hardware and structural components as well. Check the condition of:
- Turnbuckles
- Shackles
- Cables
- Anchor points
- Bolts, nuts, and fasteners
- Posts and painted surfaces
- Any signs of rust, movement, or wear
- Check fabric tension before removal
Checking the fabric tension before removing your shade sail is important because loose fabric, sagging, or unusual movement may indicate that the system requires attention before next season.
If anything looks out of the ordinary, it is better to have it inspected before the shade sail is put away for the winter.
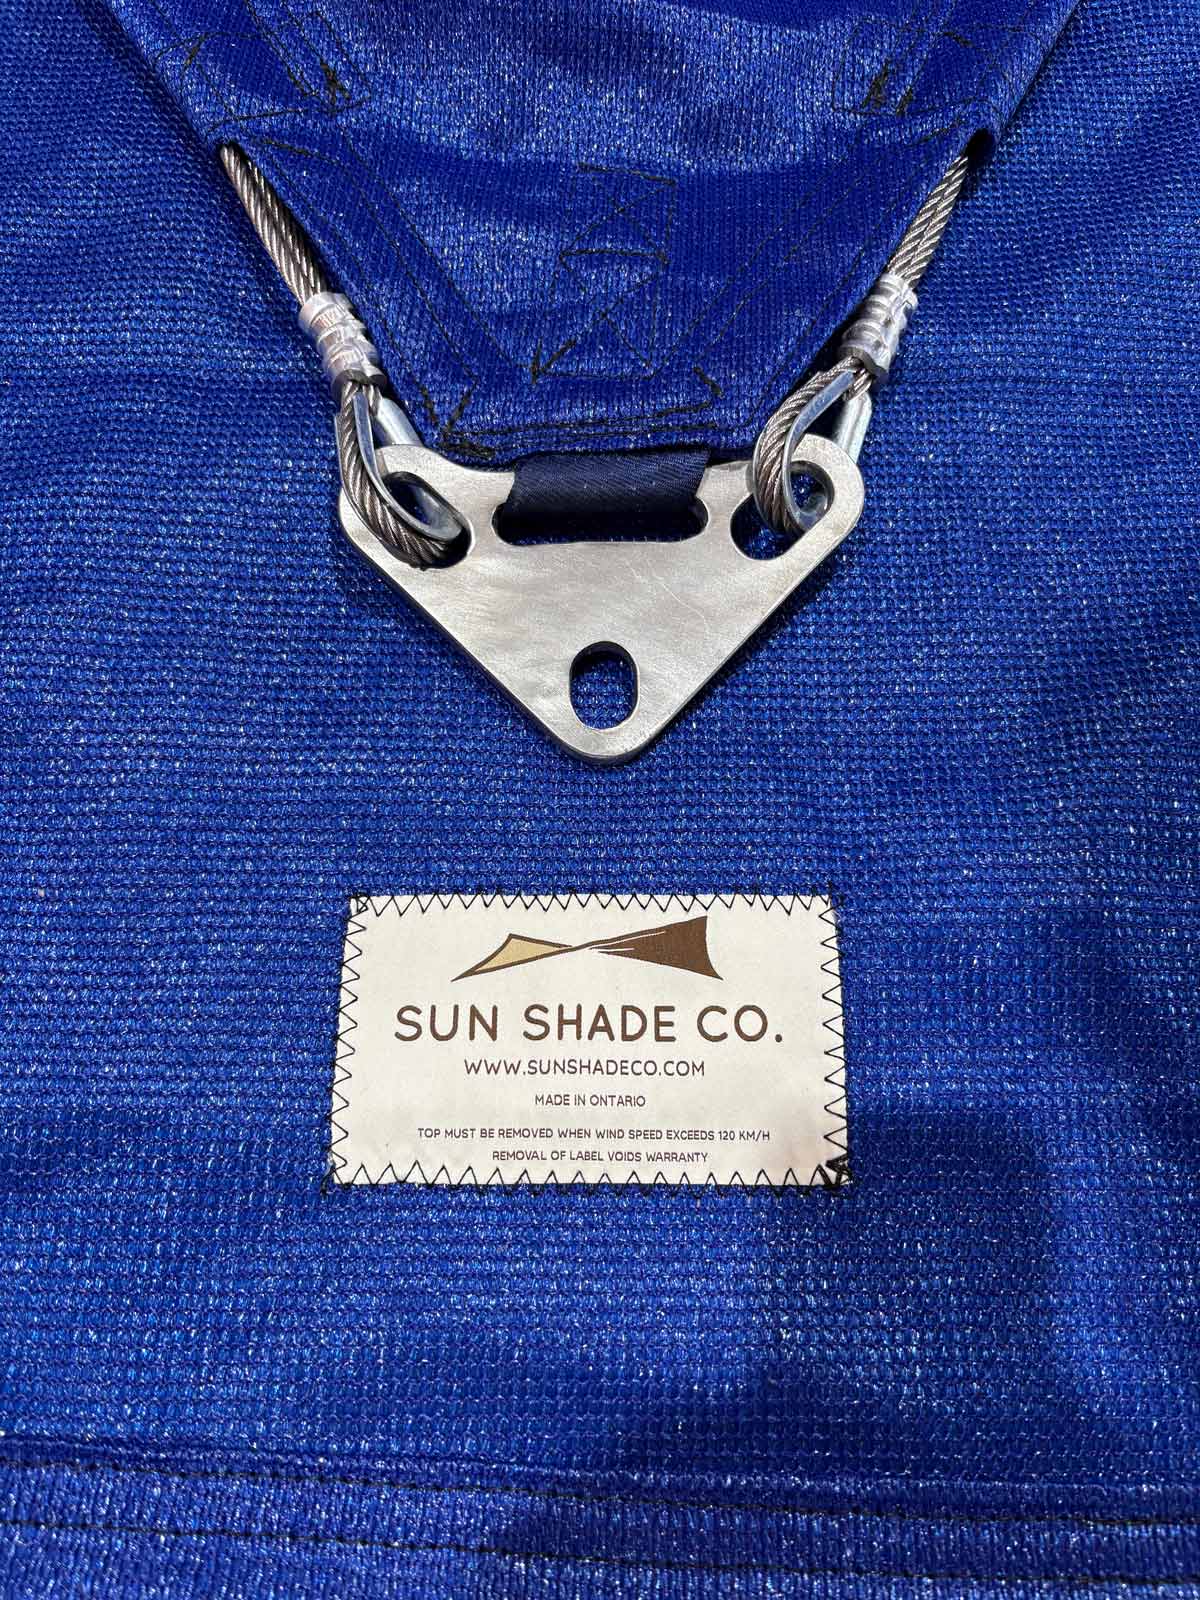
How to Prepare Your Shade Sail for Winter Removal
Once you’ve completed your inspection and cleaning, it’s time to take the shade sail down. Proper removal helps protect both the fabric and hardware and makes the process of reinstalling the sail in spring much easier.
Step 1: Choose a Dry Day
Avoid taking down your shade sail during rain, strong winds, or stormy conditions. Dry weather makes the fabric easier to handle and helps ensure that no moisture gets trapped during storage.
Step 2: Photograph the Setup
Snap a few quick photos of your current setup before taking anything down, making sure to capture:
- Attachment points
- Hardware orientation
- Tensioning points
- The correct direction of the fabric (your shade sail needs to be hung right side up for the optimal UV protection)
- How the hardware connects to the structure
These photos can serve as a useful reference when it is time to reinstall the shade sail in the spring.
Step 3: Release Tension Carefully
Because shade sails are installed under significant tension, it is important to release that pressure slowly and carefully. Never force any hardware or try to remove components while they are still pulled tight. If you are ever unsure of the process or if you have a large, custom shade system, hiring a professional for the removal is always the safest route.
Step 4: Remove the Fabric
Once the tension has been safely released, carefully detach the fabric from its attachment points. Avoid dragging the shade sail across concrete, asphalt, gravel, or other rough surfaces. Abrasion can cause unnecessary wear or damage to the fabric.
Step 5: Label Hardware if Needed
For larger or custom shade systems, consider labelling hardware or keeping components together. Place related hardware together in a labelled bag or container so that turnbuckles, shackles, fasteners, and other components don’t get misplaced during the off-season. A few minutes spent organizing everything in the fall can save considerable time when spring arrives.
Winter Storage Tips for Shade Sails
Proper storage is just as important as proper removal. Before storing your shade sail, make sure it is completely clean and dry. Carefully fold or roll the fabric and place it inside the storage bag provided. Choose a dry, protected storage location away from:
- Sharp tools or objects
- Chemicals and cleaning products
- Pests
- Standing moisture
- Excessive dirt and debris
Hardware should be stored together in a labelled container or bag where possible. Avoid placing heavy objects on top of the shade sail. Excessive pressure, abrasion, or improper storage can contribute to creasing, staining, and fabric damage.
Common Shade Sail Winter Mistakes to Avoid
When preparing a shade sail for winter, a few common mistakes can easily be avoided.
- Leaving the Fabric Up Through Winter
Canadian winters can bring snow, ice, freezing temperatures, and significant weather conditions. Shade sail fabric should be removed before winter rather than left exposed to these conditions. - Storing the Sail While Wet
Even a small amount of trapped moisture can create problems during long-term storage. Always allow the fabric to dry completely before putting it away. - Using Harsh Cleaners
Strong chemicals and abrasive cleaning products can damage shade sail fabric. Stick to mild soap, water, and gentle cleaning tools. - Forgetting About the Hardware
Don’t focus only on the fabric. Turnbuckles, cables, shackles, fasteners, posts, and attachment points should all be inspected before the system is taken down. - Misplacing Hardware
Spring installation is much easier when all the hardware is organized and accounted for. Keep components together and label them if necessary. - Dragging the Fabric Across Rough Surfaces
Concrete, asphalt, gravel, and other abrasive surfaces can damage the fabric. Handle the sail carefully during removal and storage. - Waiting Until the First Snowfall
The first snowfall is not the time to start thinking about shade sail removal. Fall weather can change quickly, and seasonal service schedules can fill up. Planning ahead gives you plenty of time to properly remove and store your shade sail before winter arrives.
At Sun Shade Co., our team evaluates each site individually to ensure that every shade structure is installed safely, securely, and built to last.
Make It Easy With Sun Shade Co.’s Seasonal Care Program
Don’t want to worry about seasonal shade sail removal yourself? Sun Shade Co.’s Seasonal Care Program provides a convenient way to protect your shade investment with professional seasonal support. From preparing your system for the changing seasons to helping ensure your shade sail is ready for its next installation, seasonal care can take the stress out of maintaining your shade system.
Learn more about our Seasonal Care Program and contact Sun Shade Co. to schedule your fall shade sail removal.
Frequently Asked Questions
Should shade sails be removed for winter in Canada?
Yes. Shade sail fabric should be removed before winter because it is not designed to withstand snow, ice, or prolonged freezing conditions.
How should I store my shade sail for the winter?
Clean and completely dry the shade sail before carefully folding or rolling it. Store it in the provided storage bag in a dry, protected location away from moisture, chemicals, pests, and sharp objects.
How do I prepare my shade sail for winter?
Inspect the fabric and hardware, remove debris, clean and dry the fabric, carefully release tension, remove the sail, and store the fabric and hardware properly before winter weather arrives.