The Ultimate Guide to Reliable Sun Protection
Installing a shade sail is one of the most effective ways to create a cooler, more comfortable outdoor environment while enhancing the visual appeal of your space. Whether you’re shading a backyard patio, playground, restaurant seating area, school yard, or commercial outdoor space, a properly installed shade sail can provide years of reliable sun protection and style.
While shade sails are designed for durability and performance, proper planning and installation are crucial to ensure the sail remains secure, is tensioned correctly, and looks visually appealing. In this guide, we’ll walk you through the key steps involved in successfully hanging a shade sail.
Choose the Right Location
The first step in any shade sail installation is determining where the shade is needed most. Consider how the space will be used throughout the day and where the sun exposure is strongest. Popular shade sail applications include:
- Backyard patios and decks
- Playgrounds and school yards
- Restaurant patios and cafes
- Poolside seating areas
- Commercial outdoor gathering spaces
- Parks and recreational facilities
When selecting the location, take into account the movement of the sun throughout the day to maximize shade coverage during peak heat hours. A well-positioned shade sail not only improves comfort but also enhances the appearance and functionality of your outdoor space.
Identify Strong Anchor Points
Shade sails require strong and stable anchor points capable of handling constant fabric tension and wind loads. Depending on your site, anchor points may include:
- Existing walls
- Structural beams
- Heavy-duty posts
- Steel supports
- Purpose-built mounting structures
It’s essential to ensure that all anchor points are structurally sound before installation begins. Weak attachment points can lead to sagging, instability, or damage over time. For larger commercial or public installations, professional-grade steel posts are often recommended to provide long-term strength and reliability.
Plan the Layout Carefully
Before installing hardware or attaching the sail, it’s important to carefully plan the layout and positioning of the structure. Key considerations include:
Proper Tension
Shade sails are designed to remain tight and tensioned. Ensure there is adequate distance between anchor points so the sail can be stretched securely without sagging.
Drainage Slope
A slight slope is essential to allow rainwater to run off the fabric instead of pooling in the centre. Standing water can place excessive stress on both the sail and mounting hardware.
Clearance
Make sure there is sufficient height and clearance beneath the sail for safe movement and comfortable use of the space.
Thoughtful planning ensures that the finished installation performs well while maintaining a clean, modern appearance.
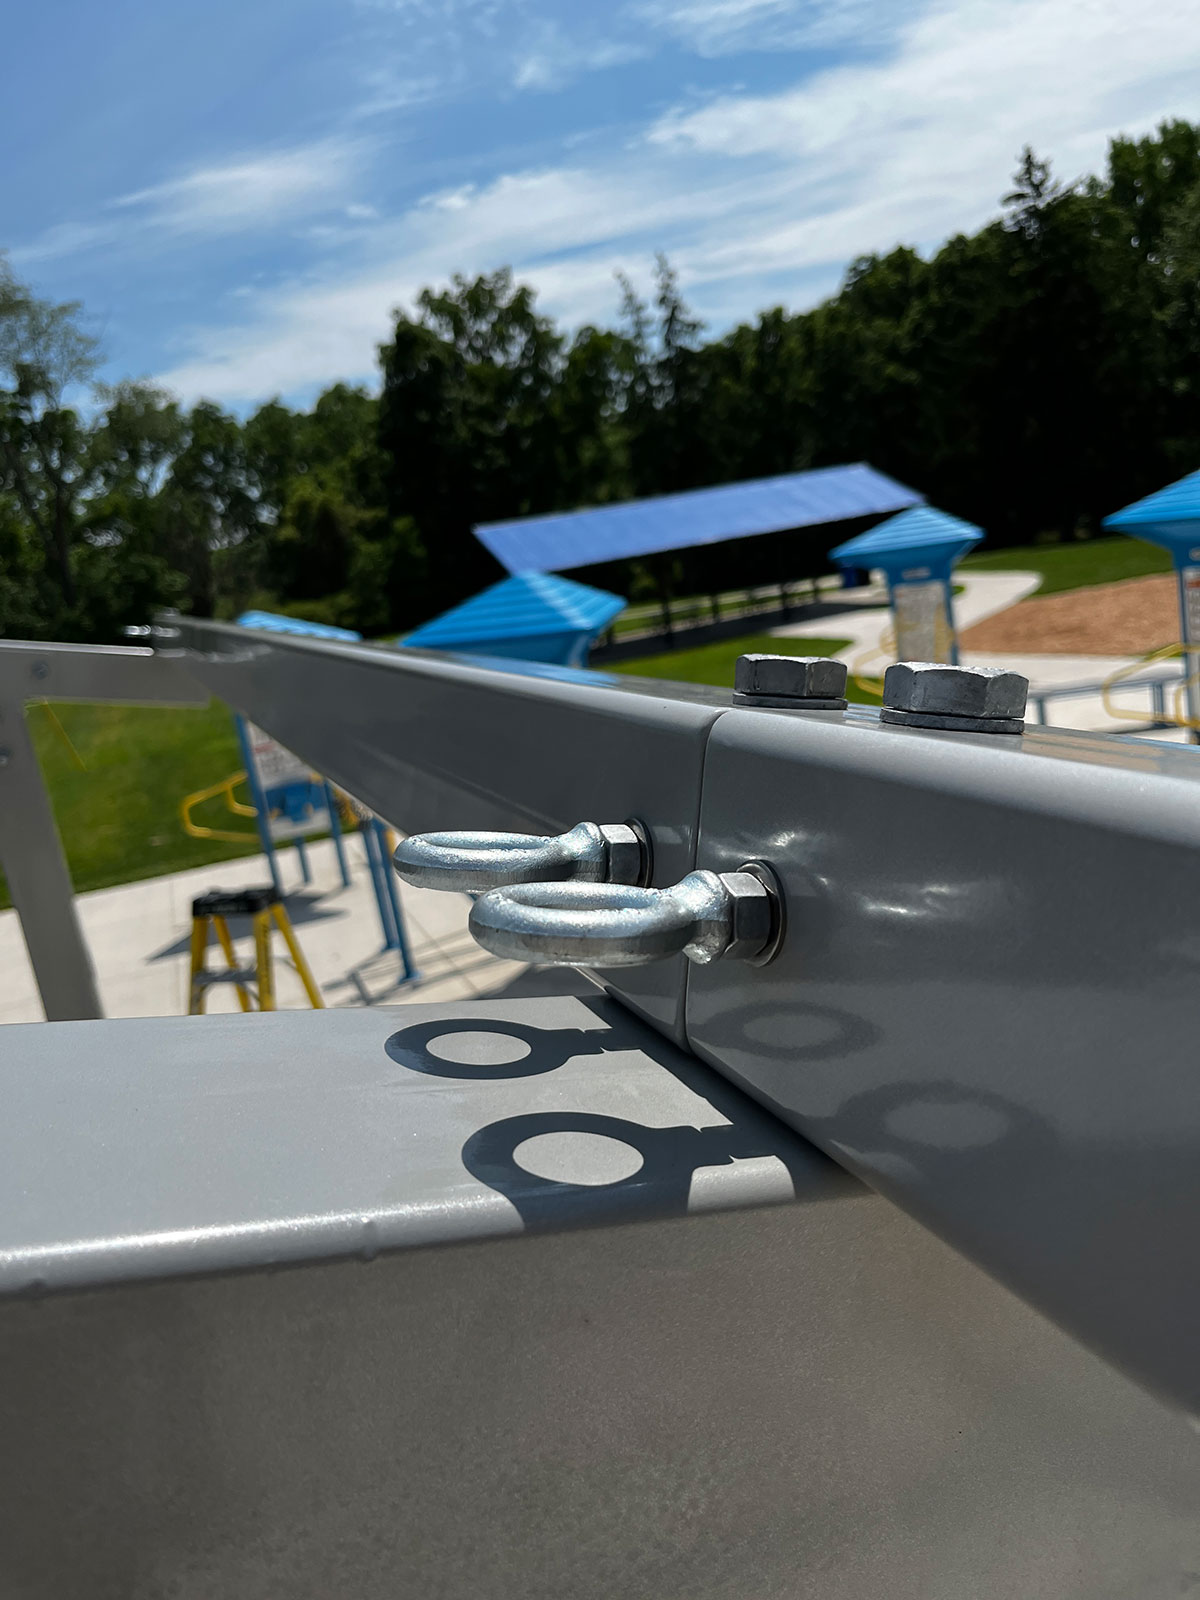
Install the Correct Hardware
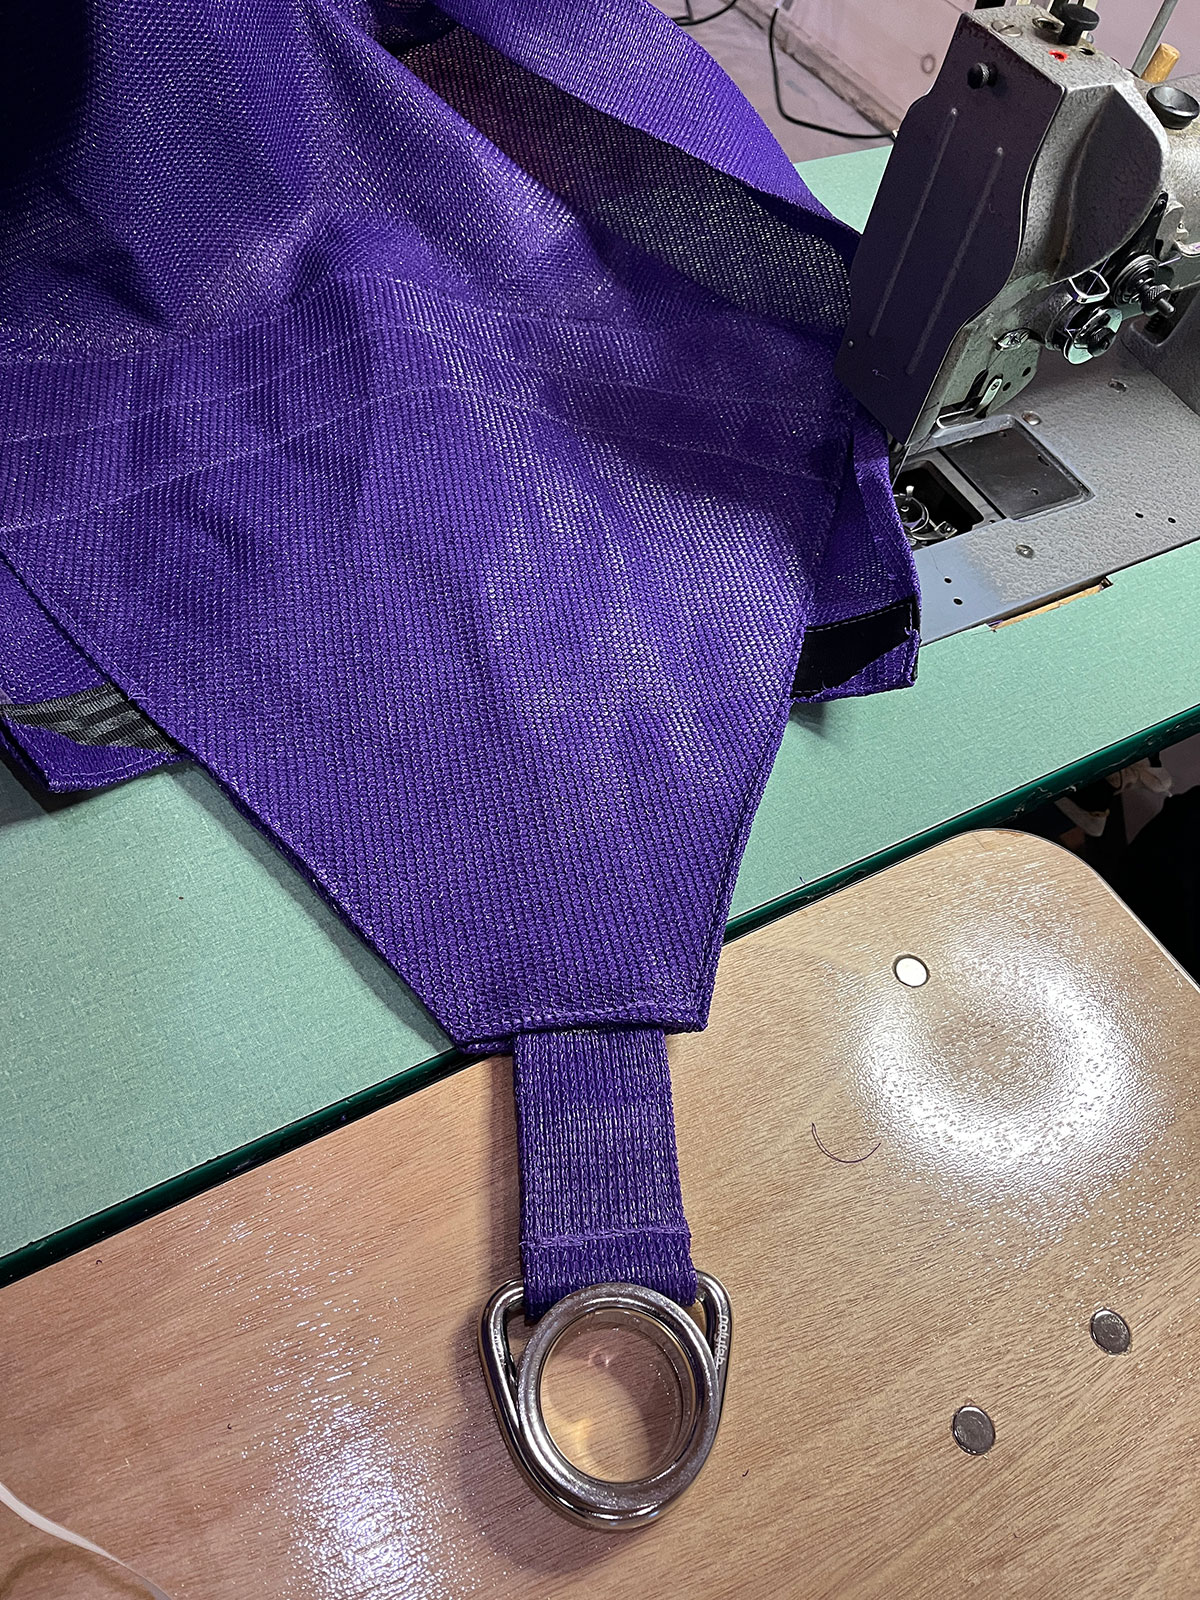
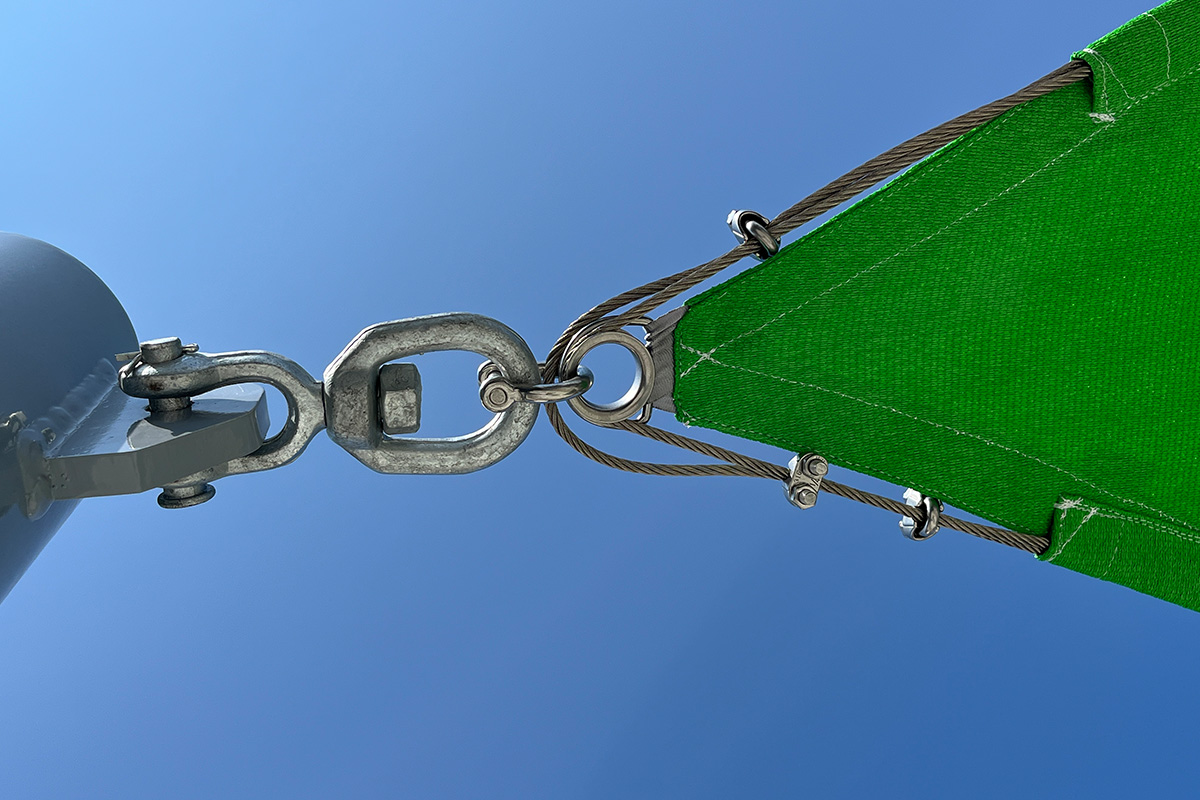
Using the right hardware is critical for both safety and durability. High-quality stainless steel or galvanized hardware is commonly used for shade sail installations. Common hardware components include:
- Eye bolts
- Pad eyes
- Turnbuckles
- Snap hooks
- Shackles
- Tensioning hardware
Each component plays a role in securing the sail and allowing for proper adjustments during installation. Investing in quality hardware helps extend the life of the structure and improves overall performance in varying weather conditions.

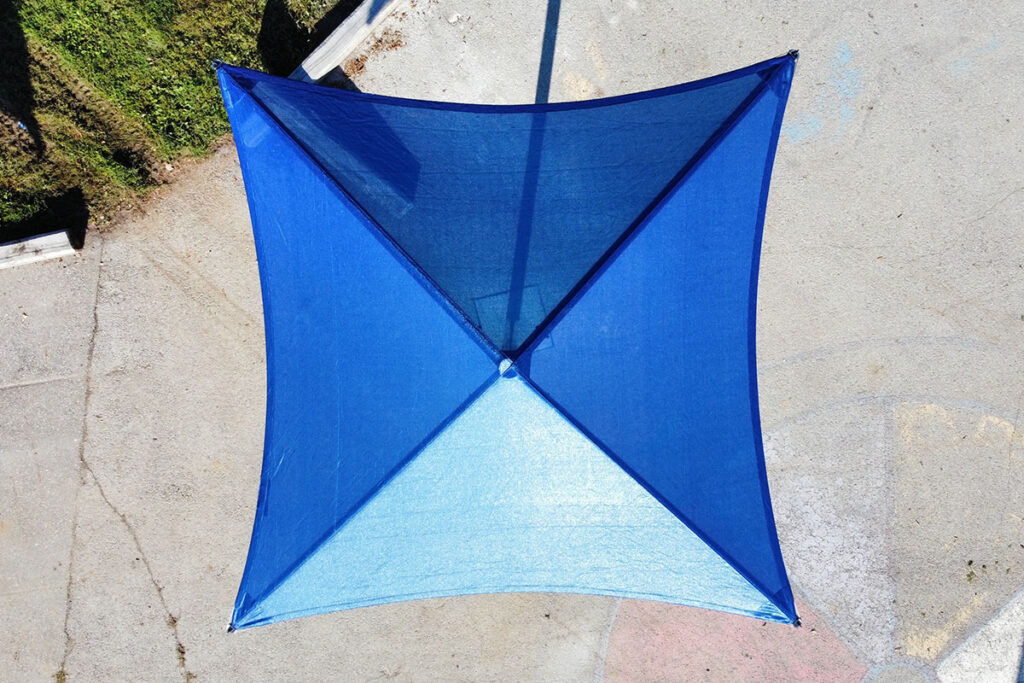
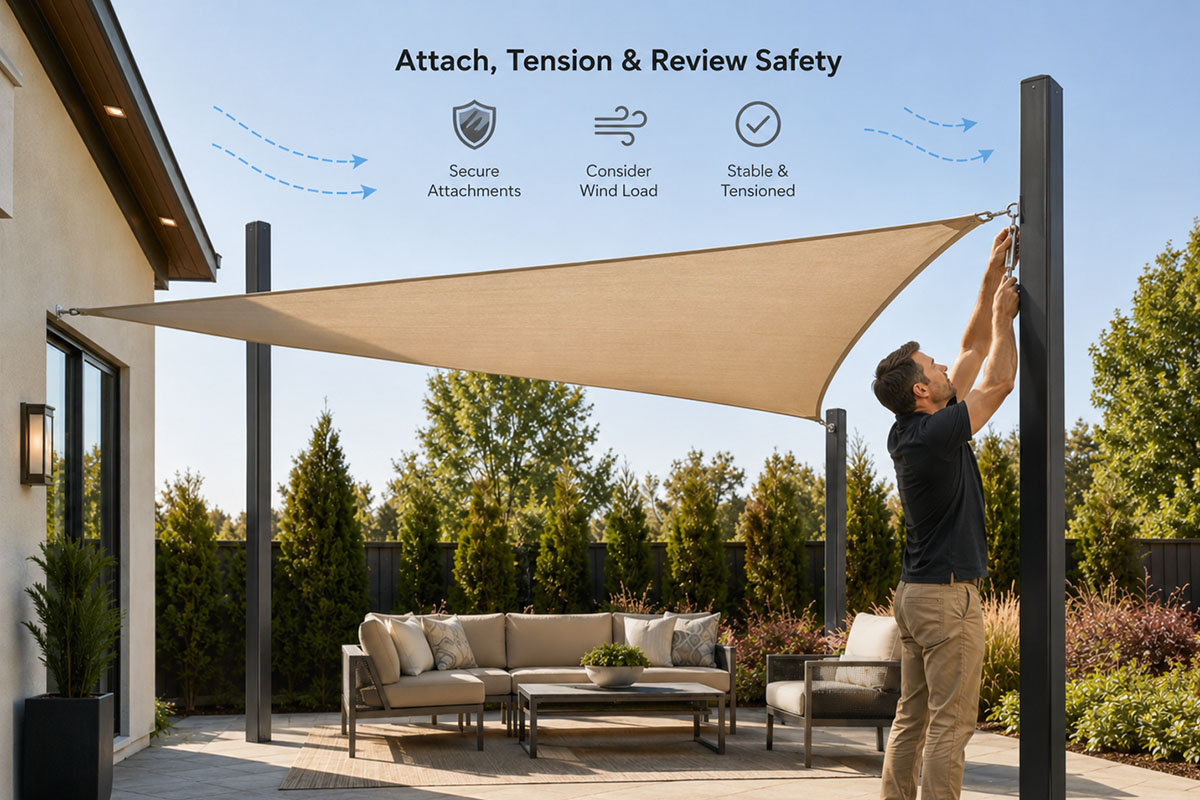
Attach and Tension the Shade Sail
Once the anchor points and hardware are installed, the shade sail can be attached and tensioned evenly. The goal is to create a smooth, tight surface without wrinkles or sagging. Proper tension helps the sail:
- Maintain its shape
- Resist wind movement
- Drain water effectively
- Improve overall longevity
Tension should be adjusted gradually and evenly across all corners to prevent uneven stress on the fabric or hardware. A professionally tensioned shade sail not only performs better but also creates the sleek architectural appearance that shade sails are known for.
Consider Safety & Professional Installation
Every installation site is different, and safety should always be a top priority. Factors such as wind exposure, surface conditions, structural strength, and accessibility can all impact installation requirements. Professional installation may be recommended for:
- Large commercial projects
- Public spaces
- High-wind environments
- Complex mounting configurations
- Custom-designed shade structures
At Sun Shade Co., our team evaluates each site individually to ensure that every shade structure is installed safely, securely, and built to last.
Create a Comfortable Outdoor Space with Sun Shade Co.
A properly installed shade sail can transform almost any outdoor space into a cooler, more enjoyable environment while adding modern architectural appeal. From patios and parks to schools and commercial gathering areas, shade sails offer a highly customizable solution designed for both performance and aesthetics.
Whether you’re planning a small residential project or a large-scale commercial installation, Sun Shade Co. can help you design the ideal shade solution for your space.
Frequently Asked Questions
How tight should a shade sail be?
A shade sail should be tensioned tightly enough to eliminate sagging and wrinkles while still allowing proper drainage and flexibility. Proper tension improves both appearance and durability.
Can shade sails handle rain and wind?
Yes, when installed correctly with proper tension and slope, shade sails are designed to withstand outdoor weather conditions. However, extreme weather and high winds may require temporary removal depending on the installation type.
Do I need professional installation for a shade sail?
Smaller residential installations may be completed independently, but larger or more complex projects often benefit from professional installation to ensure structural safety, proper tensioning, and long-term performance.